How Do I Access Rockspace Extender via re.rockspace.local?
If you are living in the biggest areas then you need wireless transmission. For this, Rockspace local WiFi extender is the best choice for you which extends the wireless network signal and removes the dead zone areas. To use the functionalities of the Rockspace WiFi extender, you have to do Rockspace WiFi range extender setup on your device through re.rockspace.local web address. Here, in this blog, we have described how to access the Rockspace WiFi range extender on your device. Read the instructions carefully from the top to bottom and check out the steps.
Instructions for Rockspace WiFi Range Extender Setup
Look at the below steps for the Rockspace WiFi range extender setup to the home wireless router or modem:
Step 1: The first step is to plugin the Rockspace extender into the electrical socket. Turn on your device.
Step 2: After that, take a WiFi enabled device such as a smartphone or tablet.
Step 3: Thereafter, go to the settings on your device and open the extender network.
Step 4: Open any web browser from your device.
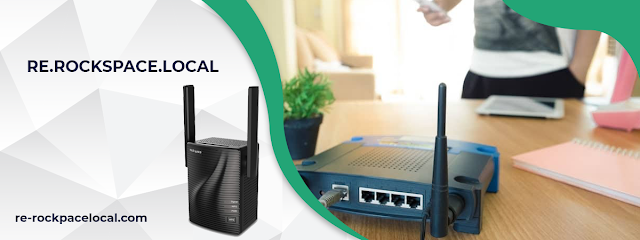
Step 5: Enter re.rockspace.local in the URL bar of the web browser.
Step 6: Now, you have reached the Rockspace WiFi range extender setup webpage.
Step 7: Follow the instructions displayed on the screen to connect your extender to the existing wireless network.
Once you complete the Rockspace WiFi range extender then unplug it and keep it to the correct spot through the LED marker.
Steps for Rockspace WiFi Range Extender Setup through WPS
Rockspace WiFi range extender offers the WPS button through which you can set up the connection between router and extender. Here are the steps that helps you in installing the Rockspace WiFi range extender through WPS button:
Step 1: Firstly, plug-in the Rockspace extender within 2-3 feet away from the modem or router.
Step 2: After that, wait for some time until the power LED light on your extender turns to solid green.
Step 3: Thereafter, push the WPS button on the Rockspace WiFi range extender.
Step 4: Press the WPS button on the router or modem within 1-2 minutes.
Step 5: Now, you will see that the LED light starts blinking on the router and extender.
Step 6: Do not unplug your device or switch off the wireless extender during the extender setup.
Step 7: If the Rockspace WiFi range extender is set up successfully through the WPS button then you will see that the power light, WPS and device LED light lit up on the wireless extender.
That’s it! We hope that by following the above-mentioned instructions, you can easily set up the Rockspace extender through re.rockspace.local web address. In case you face any difficulty in the Rockspace extender setup then you can contact our professional experts through our helpline number or live chat option for the best resolution of the problem. Our experts are available 24x7 to help you with your queries associated with Rockspace extender.


Comments
Post a Comment