Exclusive Guide for Rock Space WiFi Extender Setup
Have you purchased a brand new Rock space WiFi extender? Tried to perform the manual Rock SpaceWiFi Extender Setup? Facing trouble in Rockspace setup? Don’t know how to boost the WiFi signals using Rockspace extender?
If so and confused on how to perform Rockspace extender setup then scroll down till the end. In this blog, we have presented the guidelines on how to set up the Rockspace extender using different methods. Keep reading and get to know those methods in detail.
Different Methods for Rockspace Extender Setup
There are two
methods through which you can set up the Rock space WiFi extender setup
including the manual setup method and the WPS method. Both of the methods are
simple and easy. In this section, we have described both of the methods in detail.
Method 1: WPS Method
·
If
you are using the old Rockspace extender then you first need to reset it. Press
the reset button by using a sharp pin pointed object such as a paper clip or
needle.
·
Place
your extender nearer to the router at home.
·
Plugin
the Rockspace extender into the power socket. Ensure that you have plugged in
properly so that your WiFi range extender will get the proper power
supply.
·
Now,
you have to wait for some time and then press the WPS button on your
device.
·
Make
sure to not unplug your extender until the solid green LED light becomes the
WPS LED on your extender.
·
Unplug
your device and place it in a new location. Ensure to place your Rockspace
extender halfway between the signals of the home WiFi router and the dead spots
of the network.
·
With
these steps, the Rock space WiFi extender setup is completed. Now, try to connect your system to the
extended network to check the live internet connection.
Method 2: Ethernet Cable Setup Method
·
Firstly,
place your extender nearer to the router at home.
·
After
that, try to connect the router to the WiFi range extender using a CAT5
ethernet cable.
·
Plug
your computer into the router by using the Ethernet cable.
·
Thereafter,
plug an electric power socket with a router and wireless range extender. Ensure
that your WiFi range extender is getting the proper power supply.
·
Launch
any internet browser of your choice from your computer. Go to the
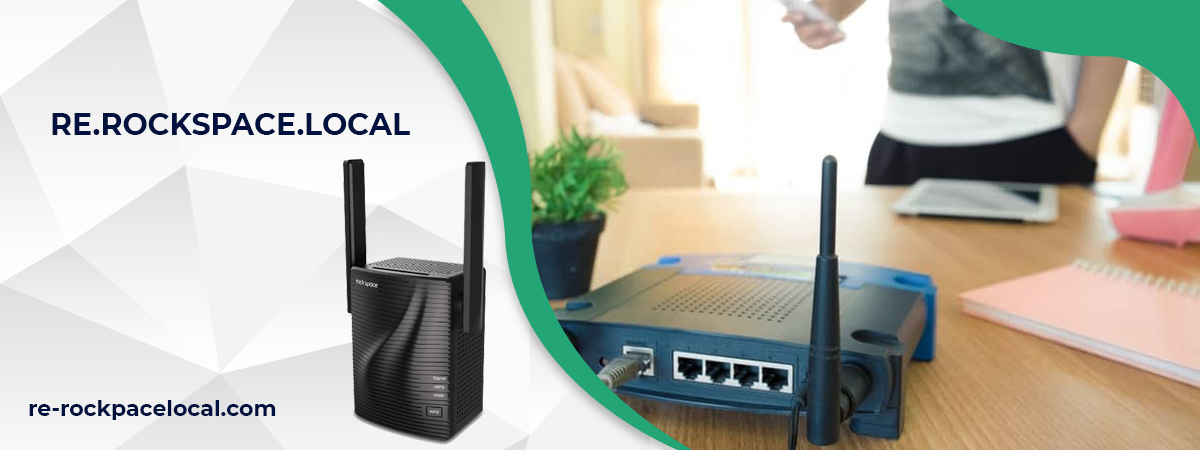
re.rockspace.local login page or ap.setup. If you have not visited the extender
login webpage then use the default IP address of your extender.
·
Now,
you are redirected to the Rockspace extender admin panel.
·
Thereafter,
you need to enter the default login credential details for the Rockspace
extender. Click on the “Sign in” or “Login” button.
·
Now,
you are redirected to the Rockspacesetup webpage. Select the “extender” option to go ahead with the setup
process.
·
Follow
on-screen instructions to complete the extender setup.
·
Tap
on the Save button to apply the final modifications.
·
Unplug
your extender and place it in the new location. Ensure to place your extender
halfway between the network signals of the home WiFi router and dead network
spots.
·
Test
the live internet connection.


Comments
Post a Comment